SAML settings TRAK and OKTA
A user guide to setting up SAML authentication between TRAK and OKTA
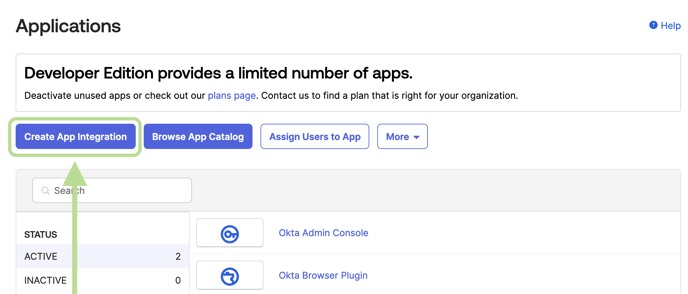
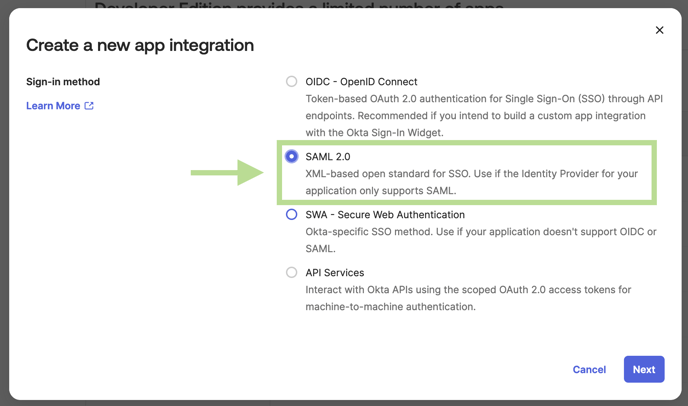
Add Application In Application Screen
In
OKTA Navigate to:
Applications → Applications
In OKTA Click the
Create Application Integration Button
Select
SAML 2.0 then click
Next
In
General Settings set
Name and
Icon to the whatever you see fit then press
Next
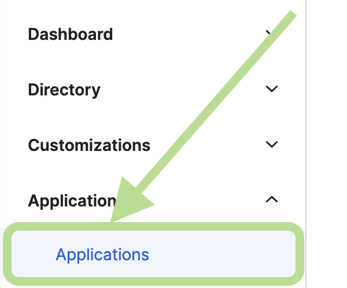
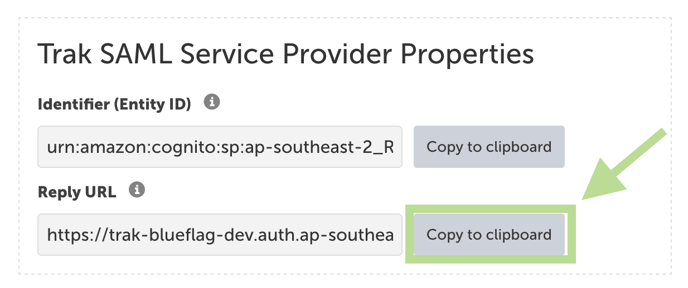
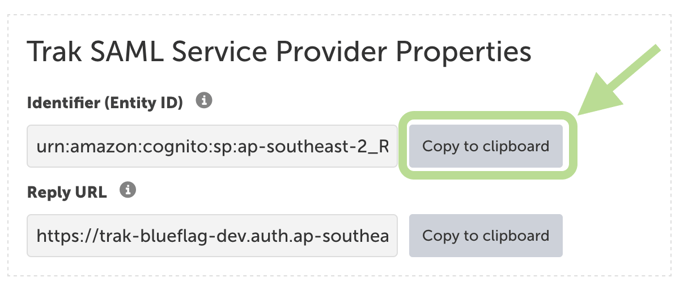
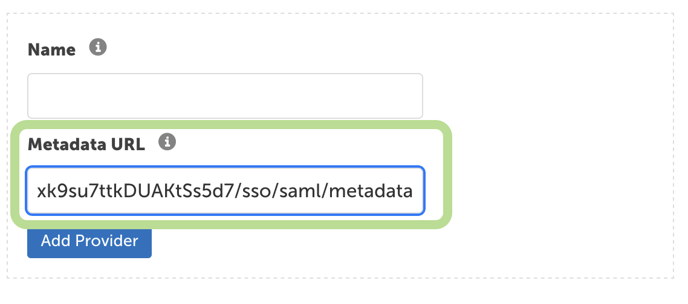
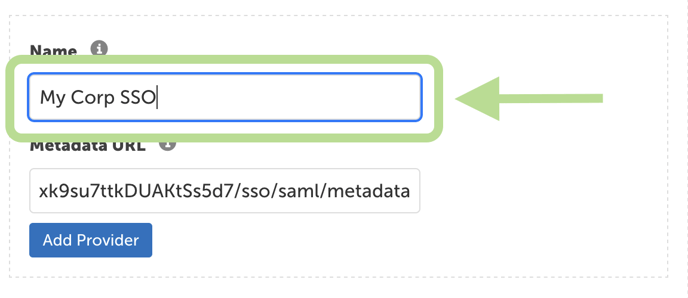
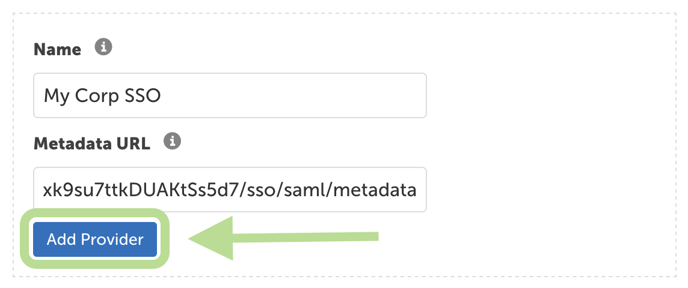
Open SAML settings on your Trak Platform - https://<tenant_id>.ontrak.app/site-settings/saml in a new tab.
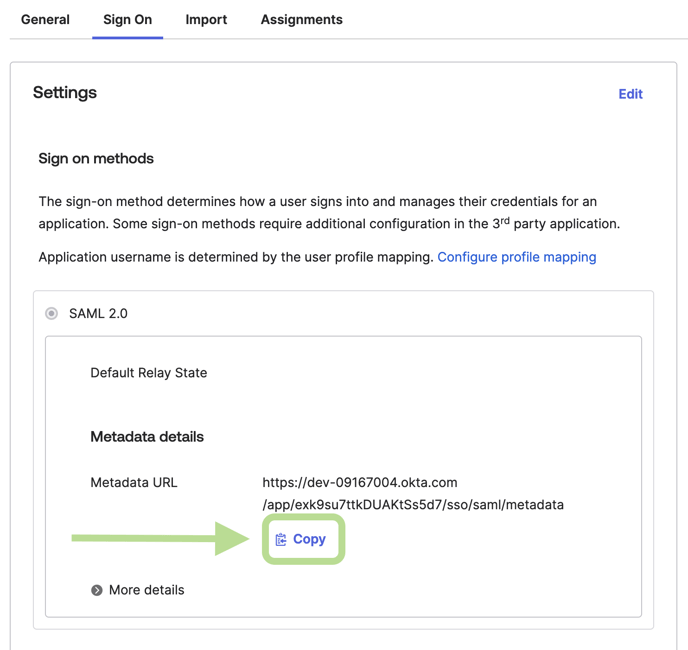
In Trak - SAML Settings click Copy to clipboard on the Reply Url
In
OKTA - Create SAML Integration paste the value into the
Single sign-on URL field
In
Trak - SAML Settings click
Copy to clipboard on the
Identifier (Entity ID)
In
OKTA - Create SAML Integration paste the value into the
Audience URI (SP Entity ID) field
In
OKTA - Create SAML Integration scroll down to the bottom of the page and press
Next
In
OKTA - Create SAML Integration select
I’m an Okta customer adding an internal app then scroll down and press
Finish.
In
OKTA - Sign On tab for the new application click
Copy on the
Metadata URL under the
Metadata details
In
Trak - SAML Settings paste the value into
Metadata URL under
SAML Identity Provider Configuration
In
Trak - SAML Settings write a name that you would like your users to see in the
Name input under
SAML Identity Provider Configuration
Click
Add Provider
You should now be able to see your SAML sign-in when signing into
Trak
